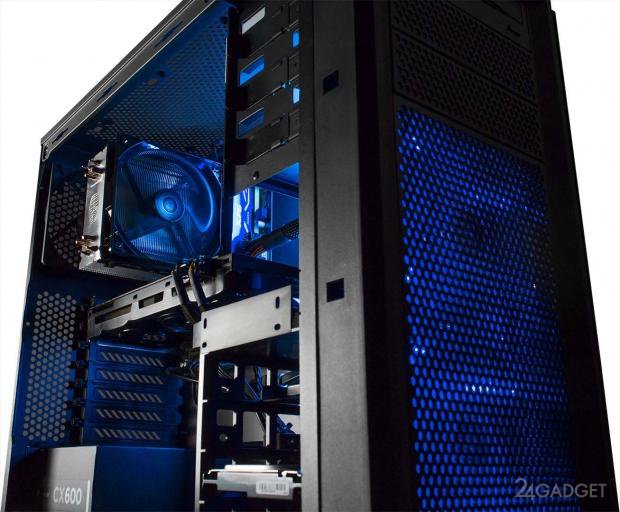
Computer NO POST means, No Power-ON-Self-Test.
Most of the time it is caused by a hardware failure.
In this article you will learn some troubleshooting steps that you can do before you contact a technician, bring your computer for repair, or before you start spending money replacing hardware to see if you can get your PC back up and running.
 |
| photo credit to 24Gadget |
Step 1 Do not involve opening up your PC.
The first thing you can check is the switch at the back of your computer power supply if it's set to ON and the power plug is plugged in tight.
Step 2
Make sure your video cable is plugged in properly on the back of your video card and that the screws are tightened all the way.
Step 3
If your building a PC, most common mistake is that the hardware is not compatible.
Make sure that you go to the manufacturer’s website to check for the compatibility list of your Motherboard.
Step 4
Make sure that the power connector is not wiggled loose and its connected properly. You have two connectors that goes into your motherboard. One is either a 4 pin or an 8 pin P4 or EPS connector usually up on the top left of the motherboard make sure that’s in all the way until it clicks. The second one is a 20 pin or 24 pin connector usually up on the top right hand edge of the motherboard. To determine if your board is getting power is if you turn on the power supply, you can see a little light there flick on and off depending on the power supply if its on and off. That means your Motherboard has power at the very least.
Step 5
A lot of times when you call in to the Motherboard technical support, one of the things they’ll ask you to do particularly if you’re changing or overclocking the settings on your motherboard is to clear the BIOS or clear the CMOS. You can go to your Manufacturer’s website for specific instructions on how to perform this troubleshooting.
Step 6
Try to test if your system will work properly without the case. Sometimes the case itself can cause the system not to POST.
When you hear the beep code, this means we have a power to the Motherboard or we have some kind of response from it. Usually this means there’s a problem somewhere else so you can move on the the memory.
Step 7
One of the things that are relatively easy to check and can happen to the system whether the system is new or old is defective memory stick or slot. One thing you can do is start removing the memory if your system and try if it will boot with just one stick of RAM (please refer to the Computer Manufacturer’s website for instructions). If it doesn't work, try swapping the stick with the one you left in to see if that is defective or not.
Turn your computer ON to check if the computer boots. If you don’t hear a sound, that means you’re getting a response from the Motherboard and the RAM Module is good so we’ll move on to the video card display.
Step 8
Sometimes the problem with a video card can be resolved by just re-sitting it. What you’ll need to do is release the PCI express clip(consult your manual if you’re not sure). Pull the the video card out of the slot handling only by the edges. Just use gentle force to pull it out and make sure there is no damage to the connectors or to the slot itself. Firmly re-sit the card back into the slot and make sure that the lock re engages. If you have a different slot for the video card, try that slot because sometimes it’s not the card that’s not working but the PCI express card slot.
If it turns on without any bleeping sound and still won’t display, then its time to replace your video card.
In this scenario it involves a removing the defective RAM module until we didn't hear the beep code from the Motherboard, and a defective video card so we had to replace the it.
DISCLAIMER:
This tutorial requires basic computer hardware knowledge. The author will not be responsible for any damages result by not being able to follow the procedure correctly.